
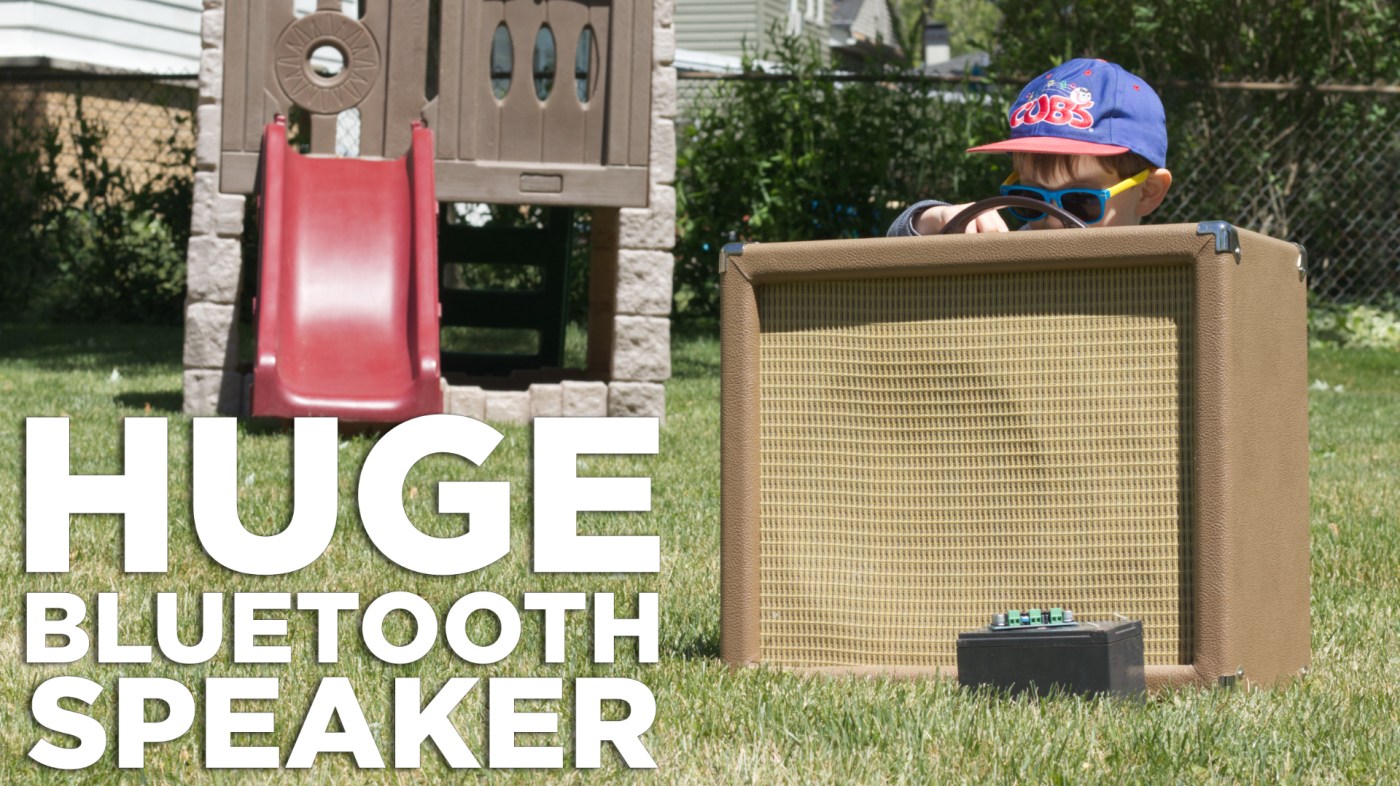
So there are times when we are in the back yard and some music would be really nice. Now obviously the two extremes when it comes to effort are to just buy a Bluetooth speaker and be done with it, or to install permanent outdoor speakers. Certainly either of those options would work but I figured that I had to have enough old stuff kicking around the house already to make something work.
The first thing needed for a Bluetooth speaker is obviously a speaker. I had this cabinet that I built a couple of years ago that I really wasn’t using. Now I went through all of the effort to make a fancy cabinet covered in Tolex to look like a guitar amplifier but all of that is not really necessary. Since what is inside are some speakers that I got from a home theater speaker cabinet you could just start with one of those and add the other things to the inside.
Basically the material list is a speaker, a Bluetooth and amplifier board, and a battery with some way to charge it. Now you can buy kits with all of these things with it, but if I am being honest, if I have to buy a Bluetooth speaker kit then I am probably just going to buy a Bluetooth speaker and be done with it.
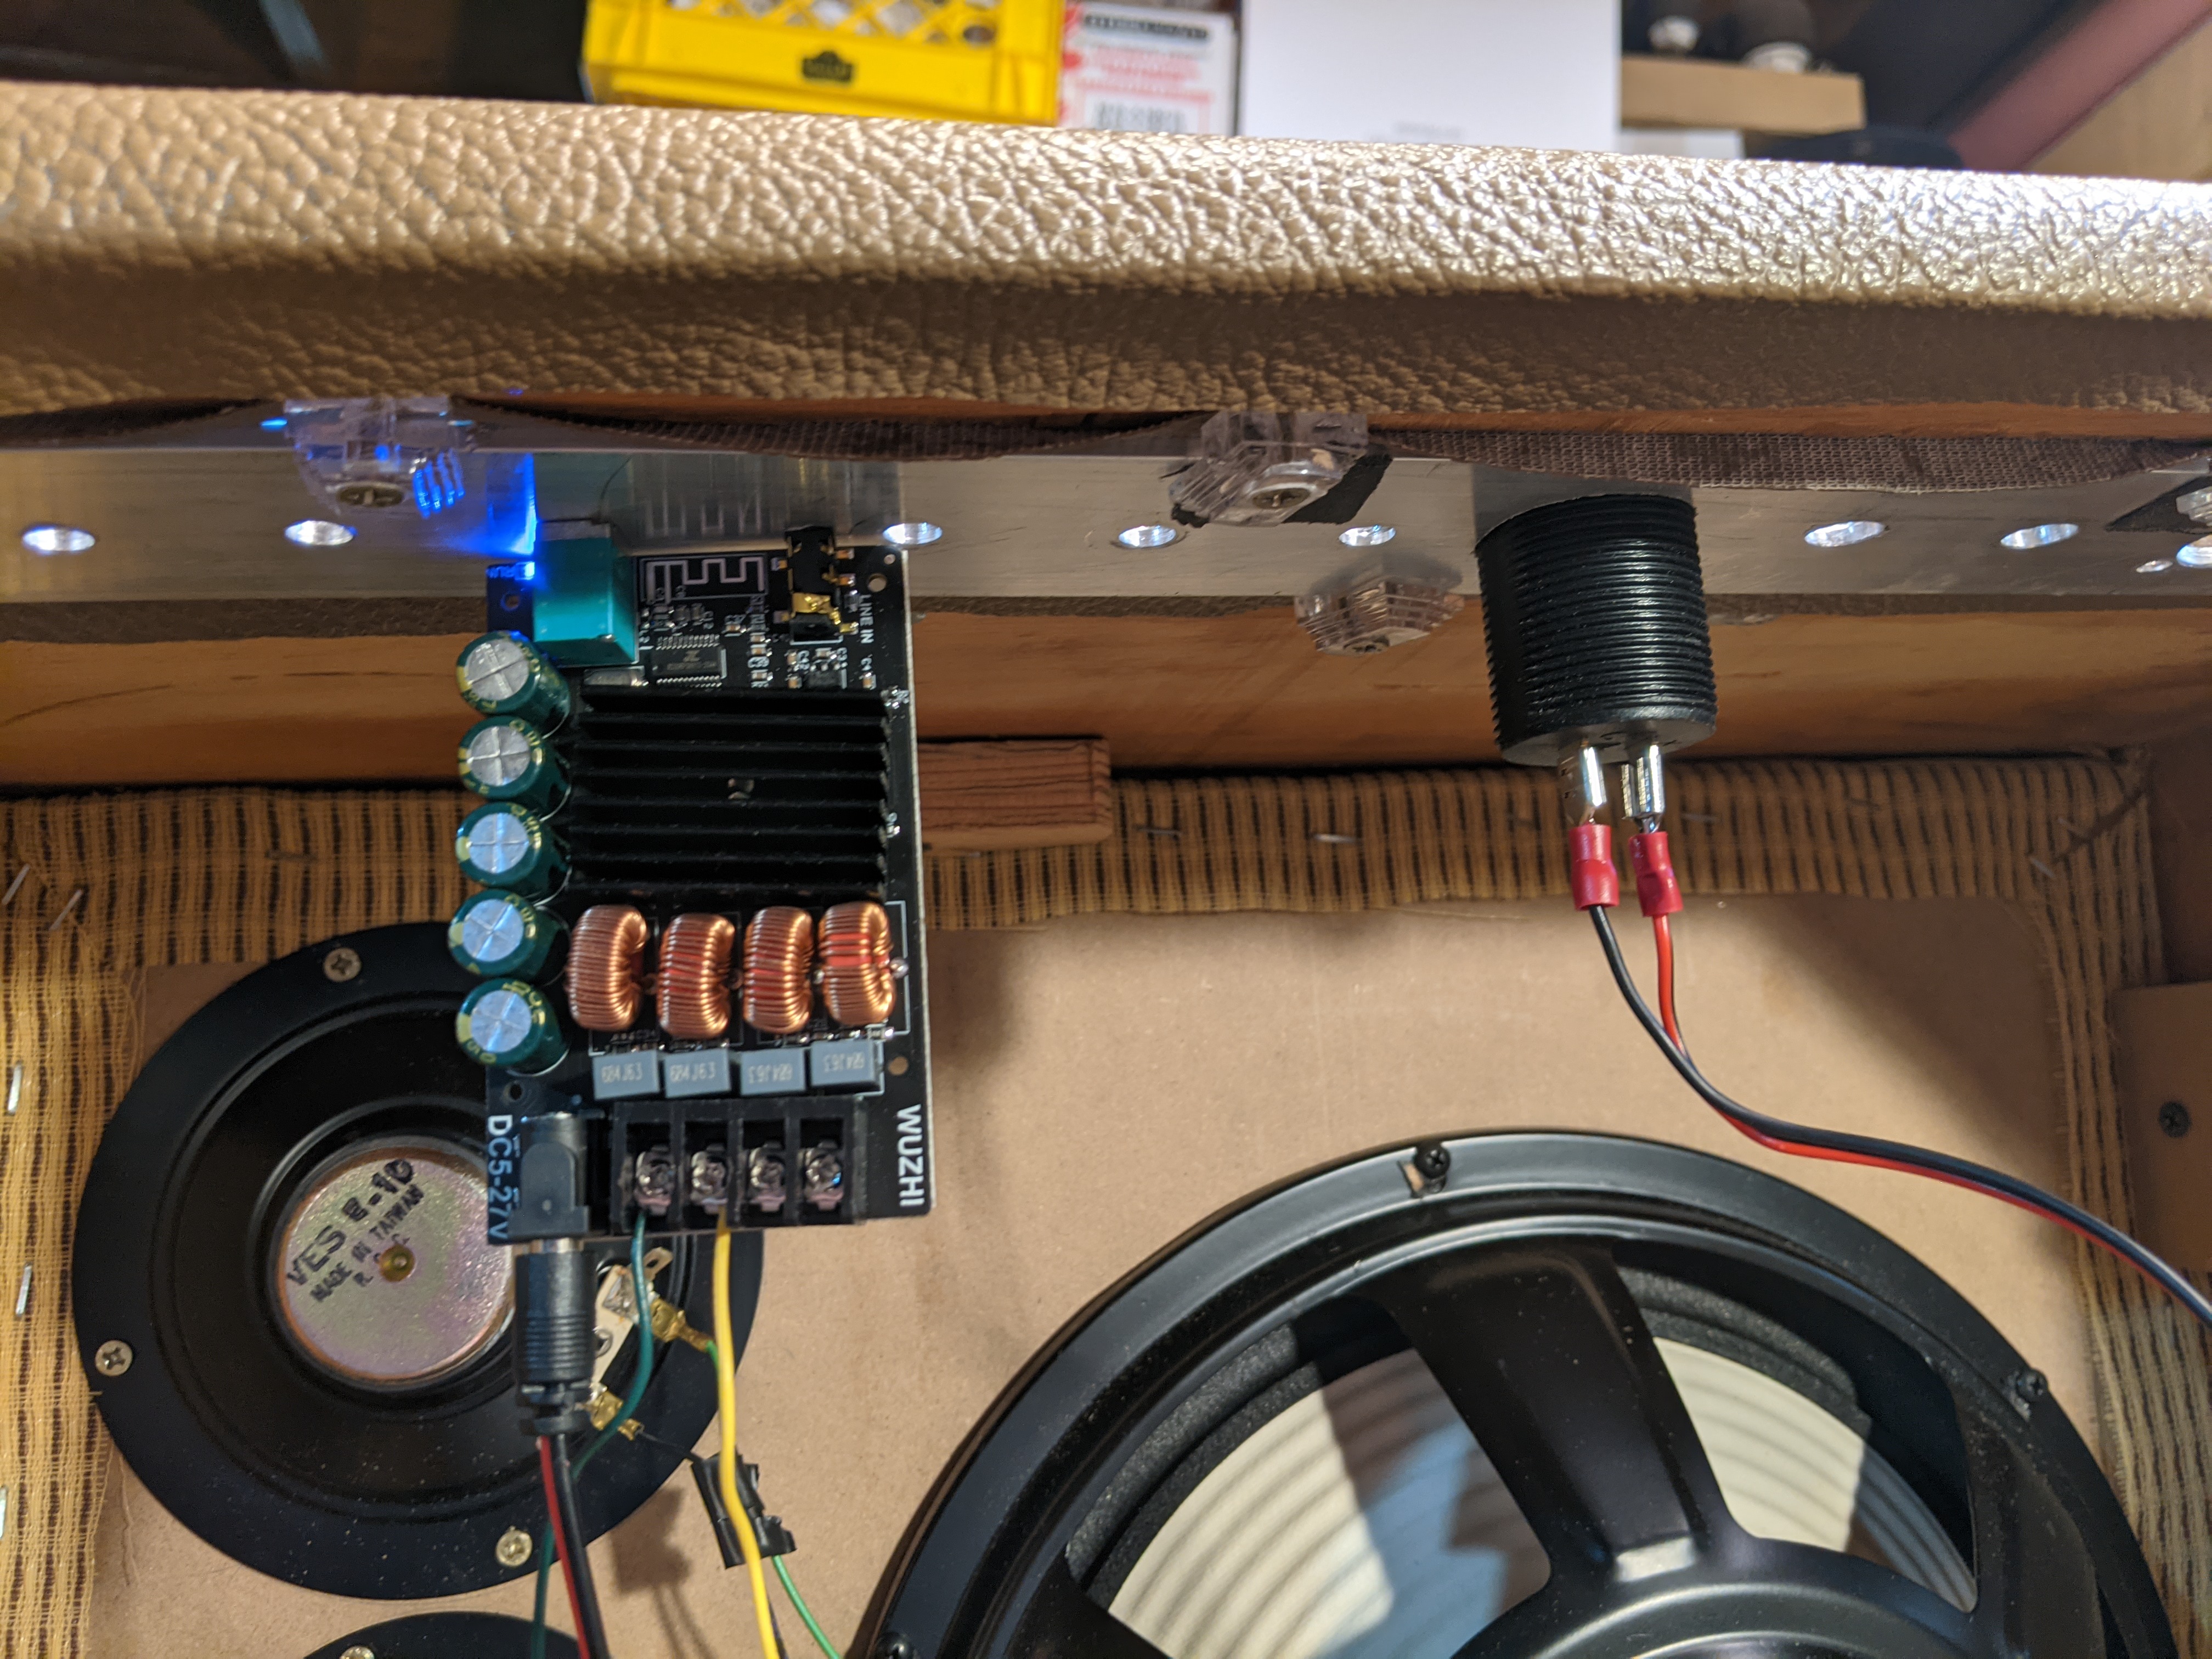
Now with my speaker picked out I needed to find a amplifier board. I found this one in my boxes of stuff like this left over from another project. Couldn’t be simpler, just connect it to the speaker and power and then it’s ready to go.

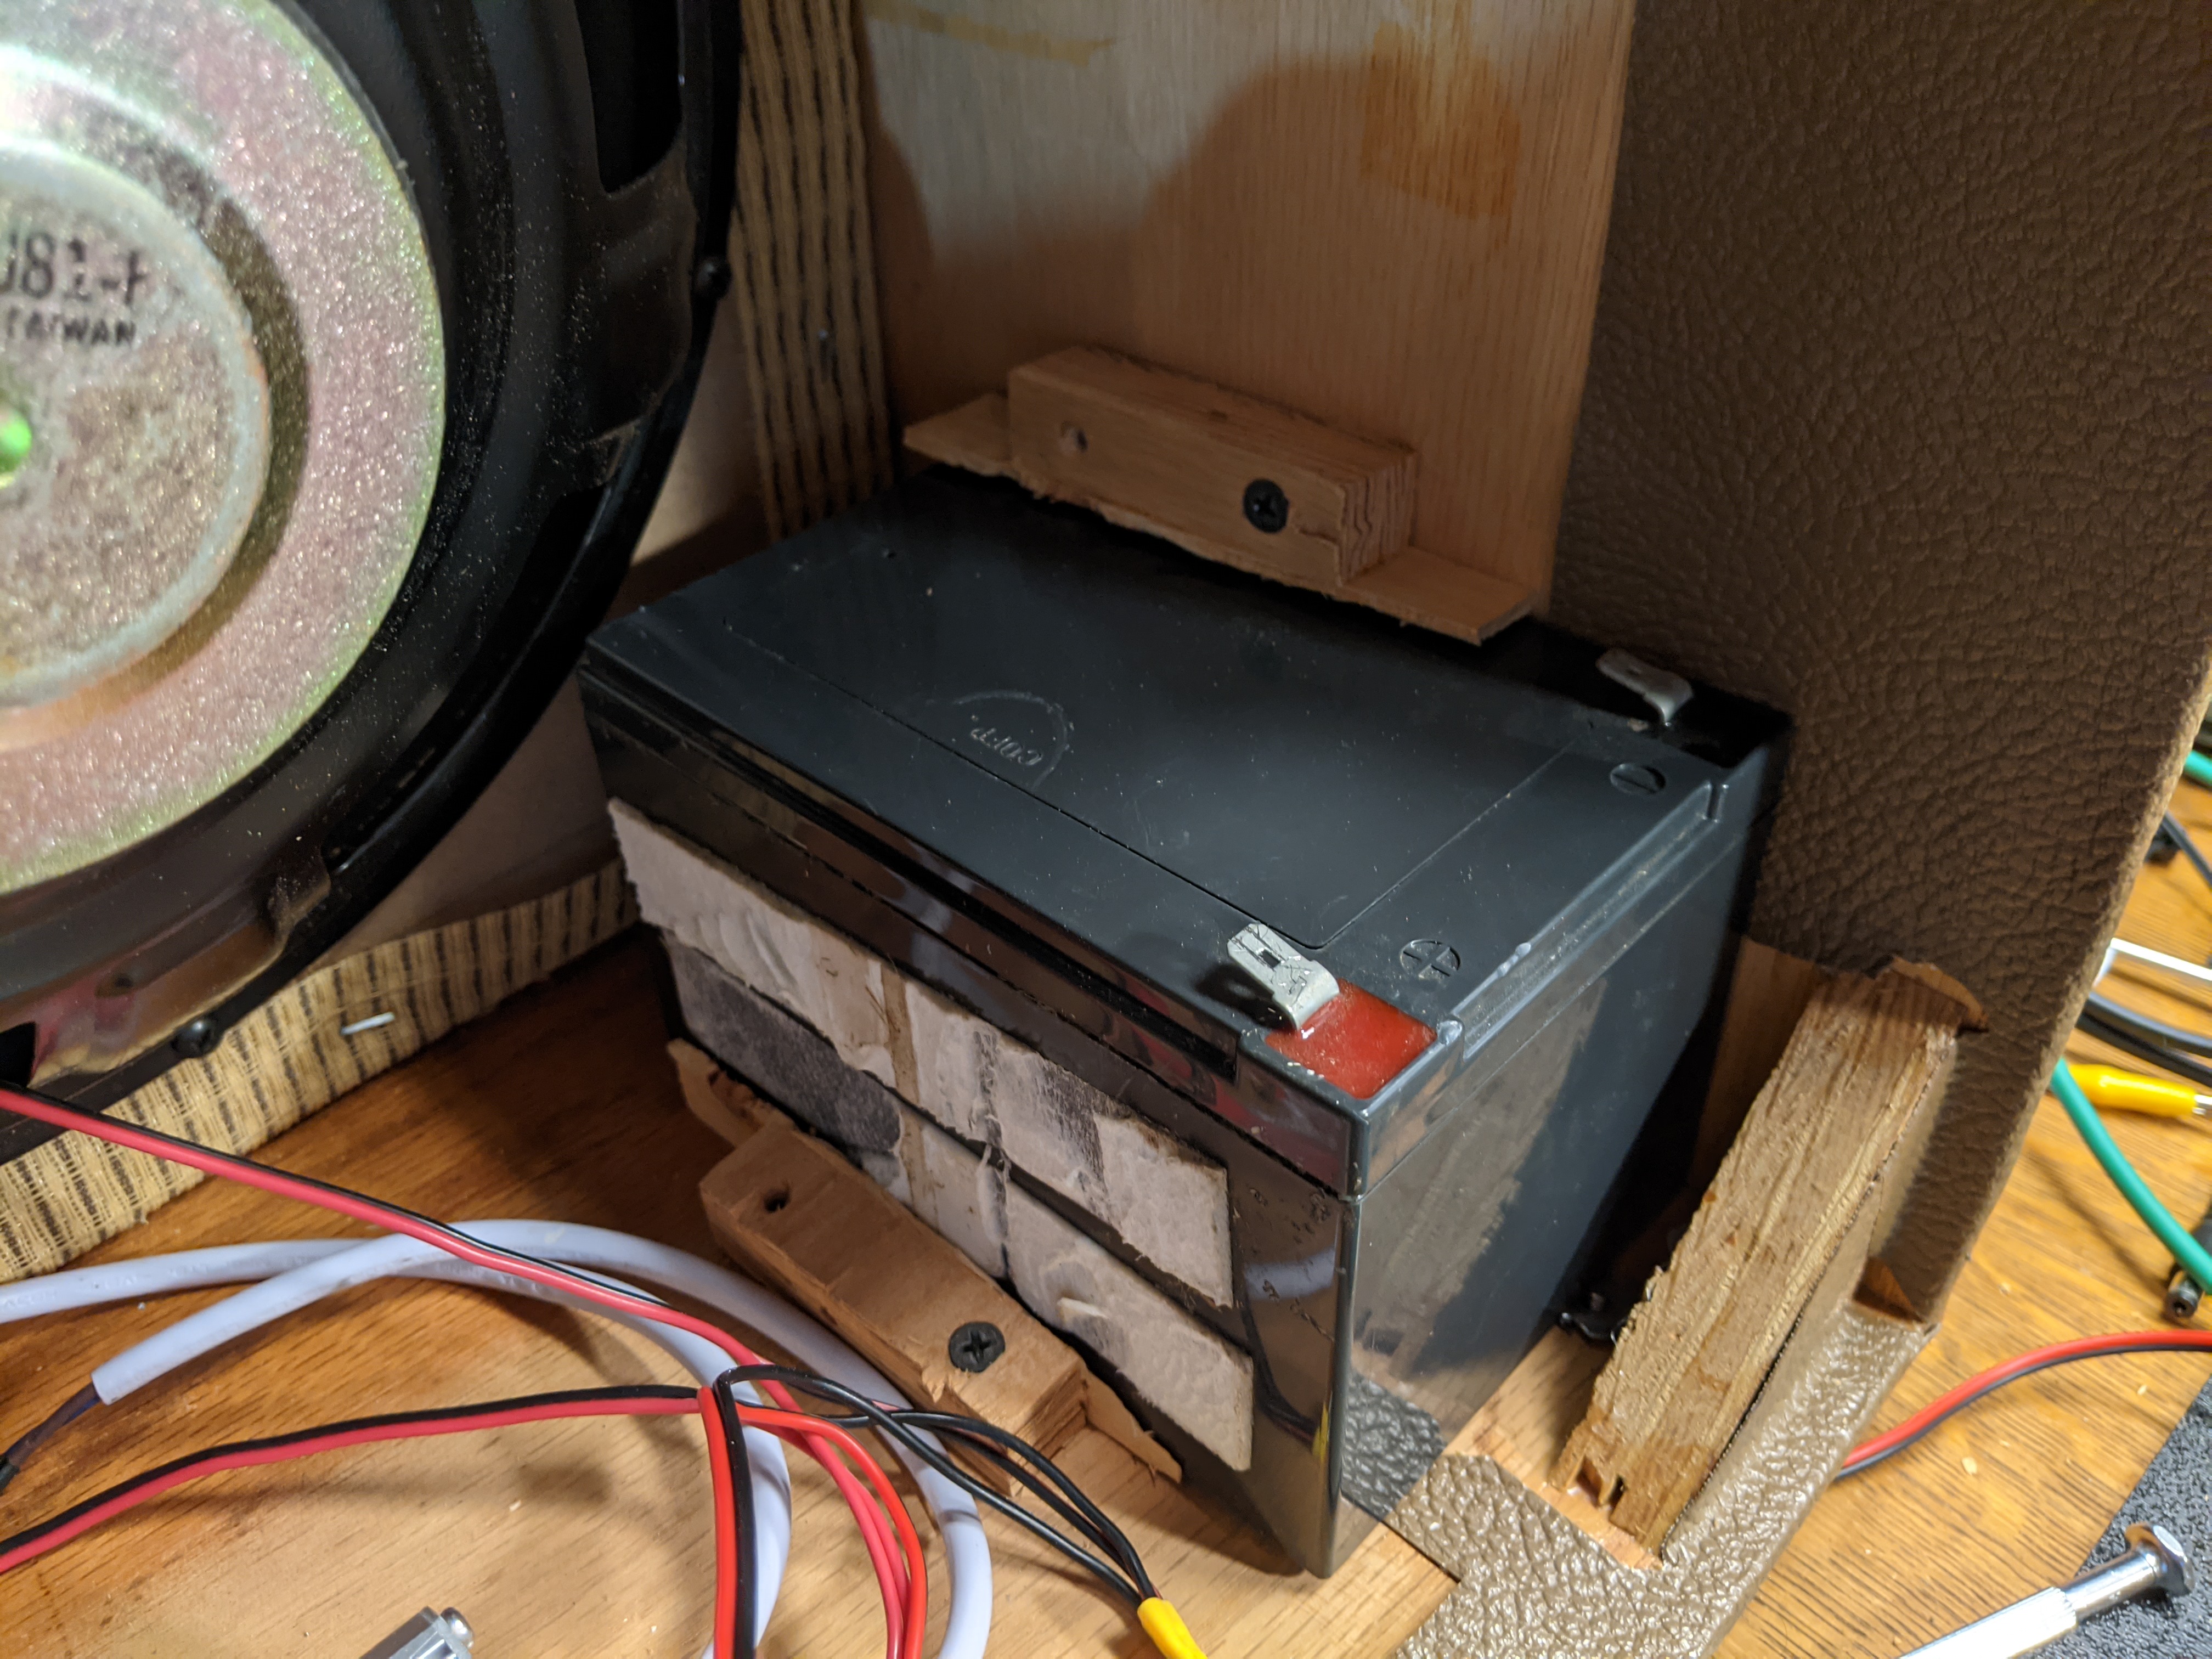
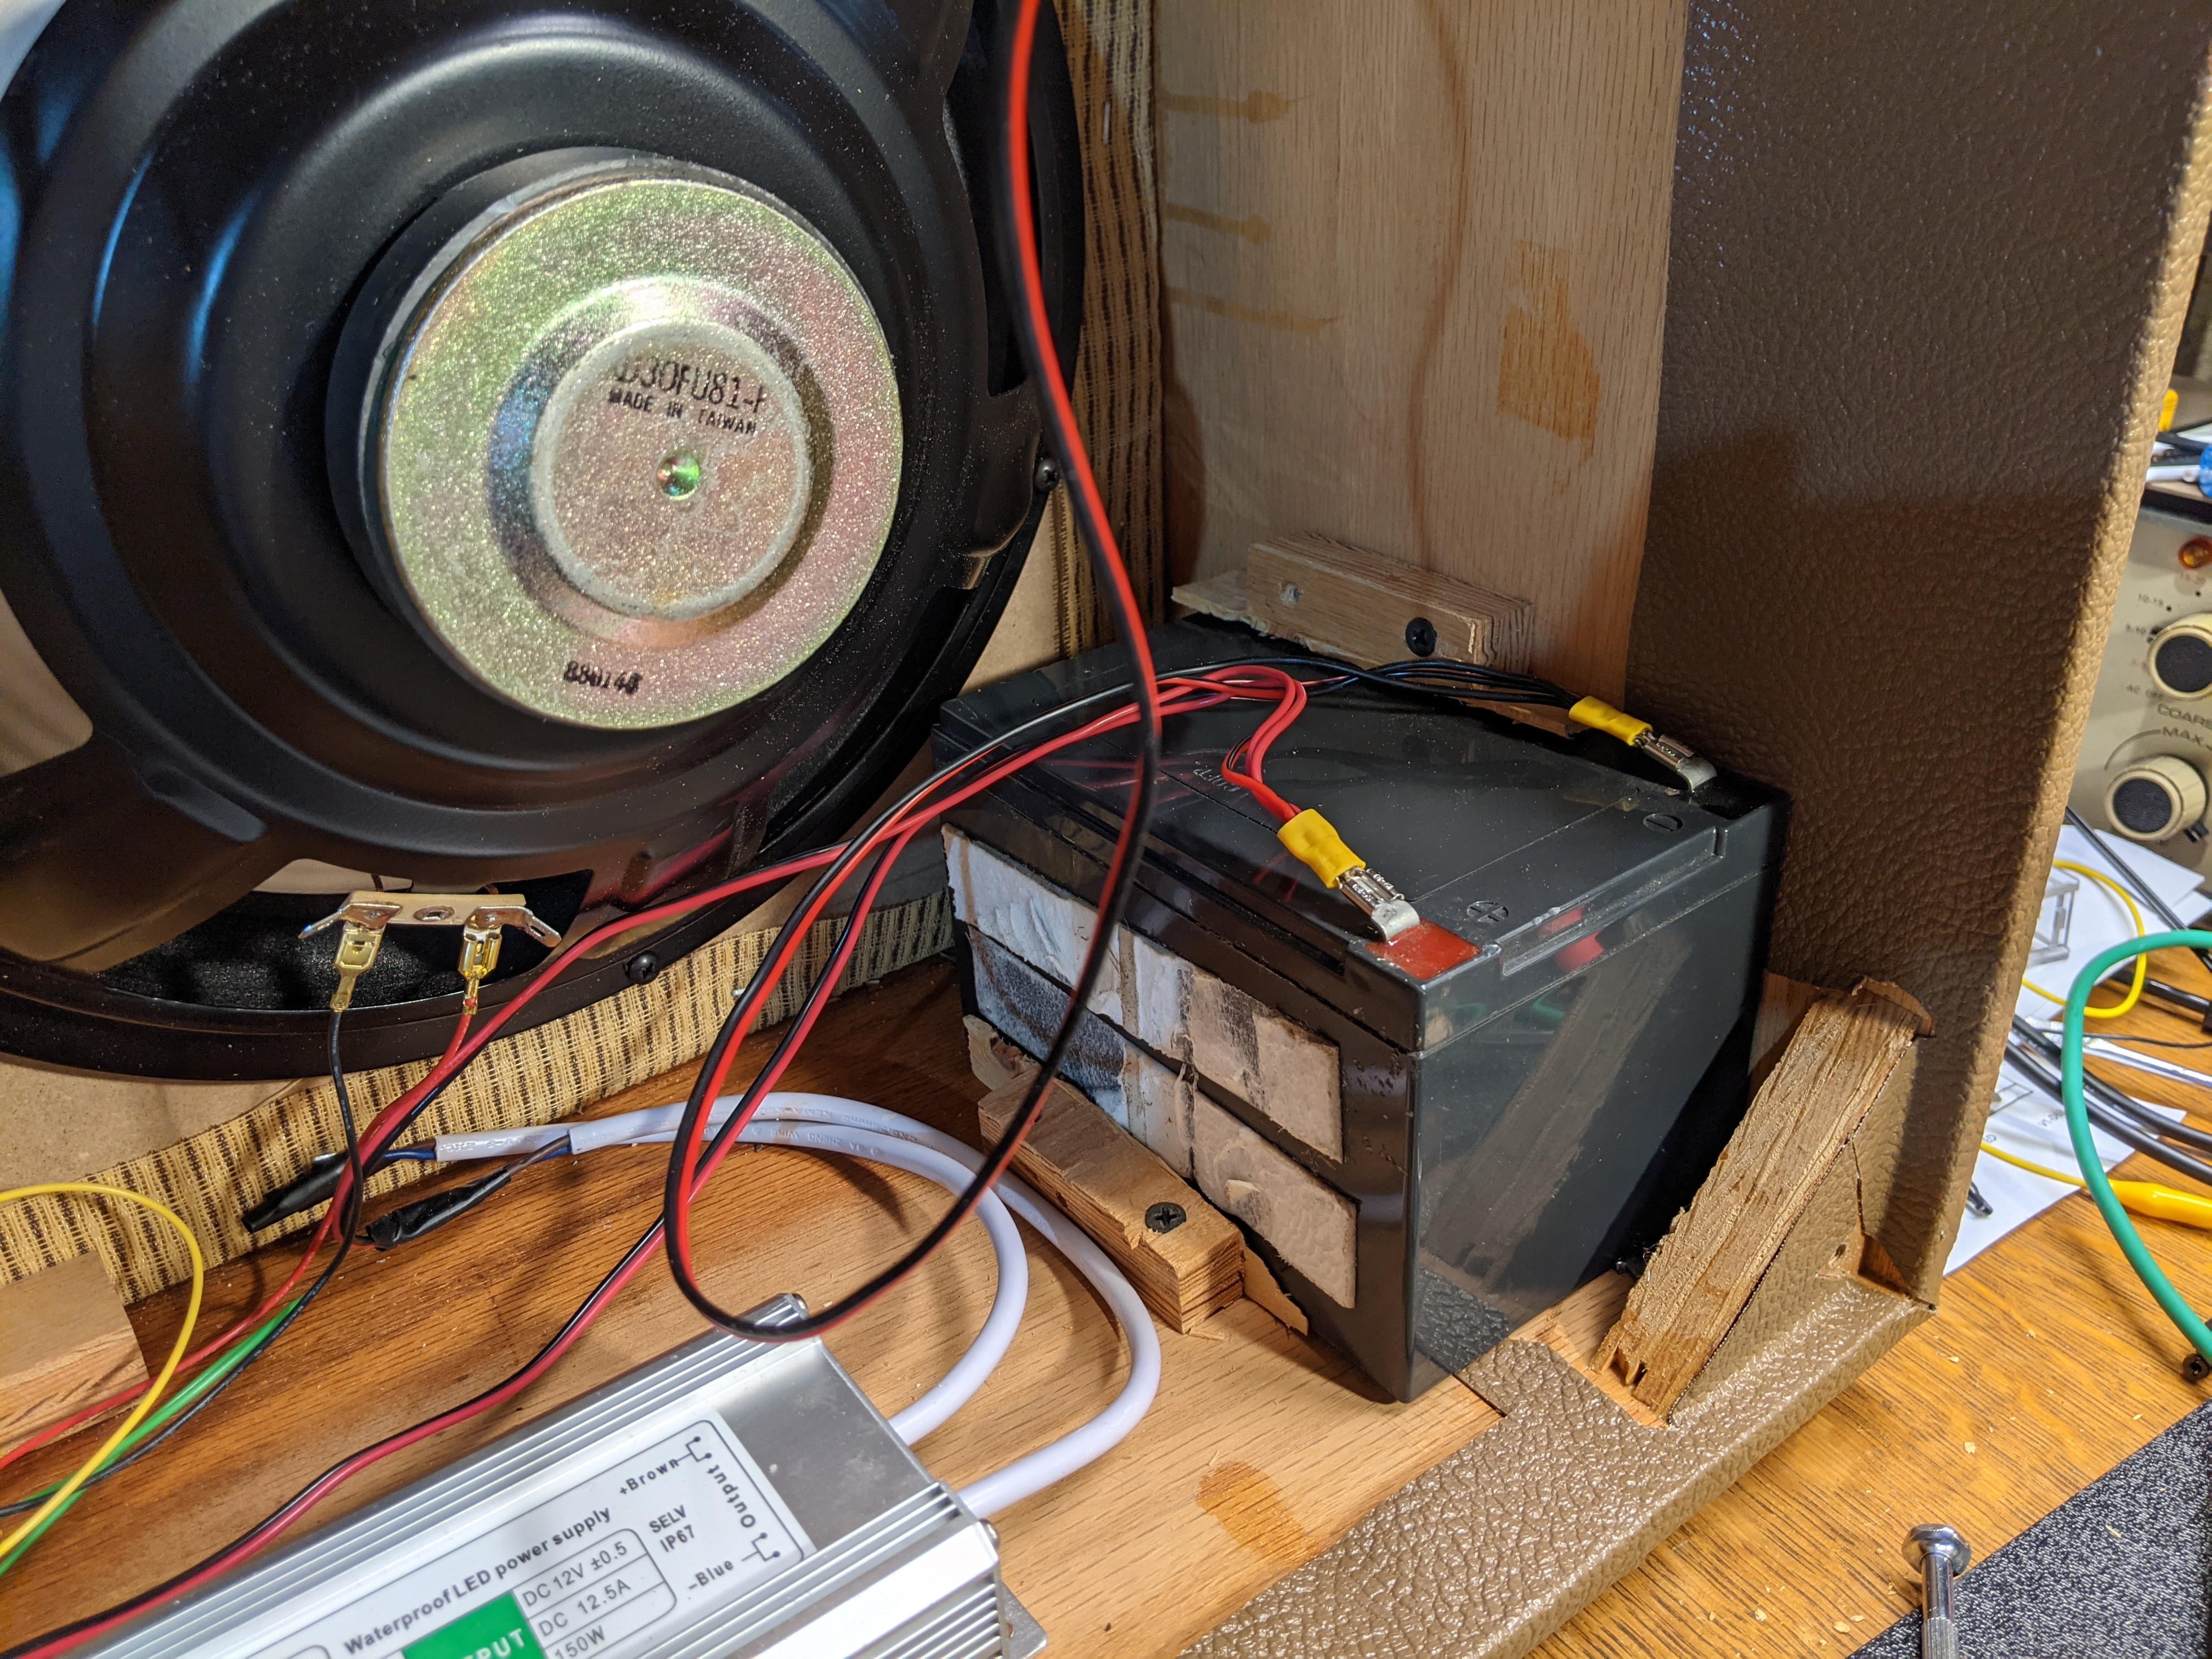
Last we need some sort of battery to power the amplifier when the speaker is blasting tunes in the back yard. I have a pretty big pile of old 12 volt batteries from uninterrupted power supplies but I also have three motorcycle batteries that came out of my electric lawn mower. One of those will work nicely. To charge the battery I already had a 12 volt DC power supply from this speaker cabinet’s previous life. It is basically an LED driver power supply. If I didn’t already have that I would just use an old wall wart power supply to recharge the battery.
While 12 volts for the charger technically works something a little higher like 14 volts would be much better. Since 12 volt DC supplies are more common though that is what I had kicking around.
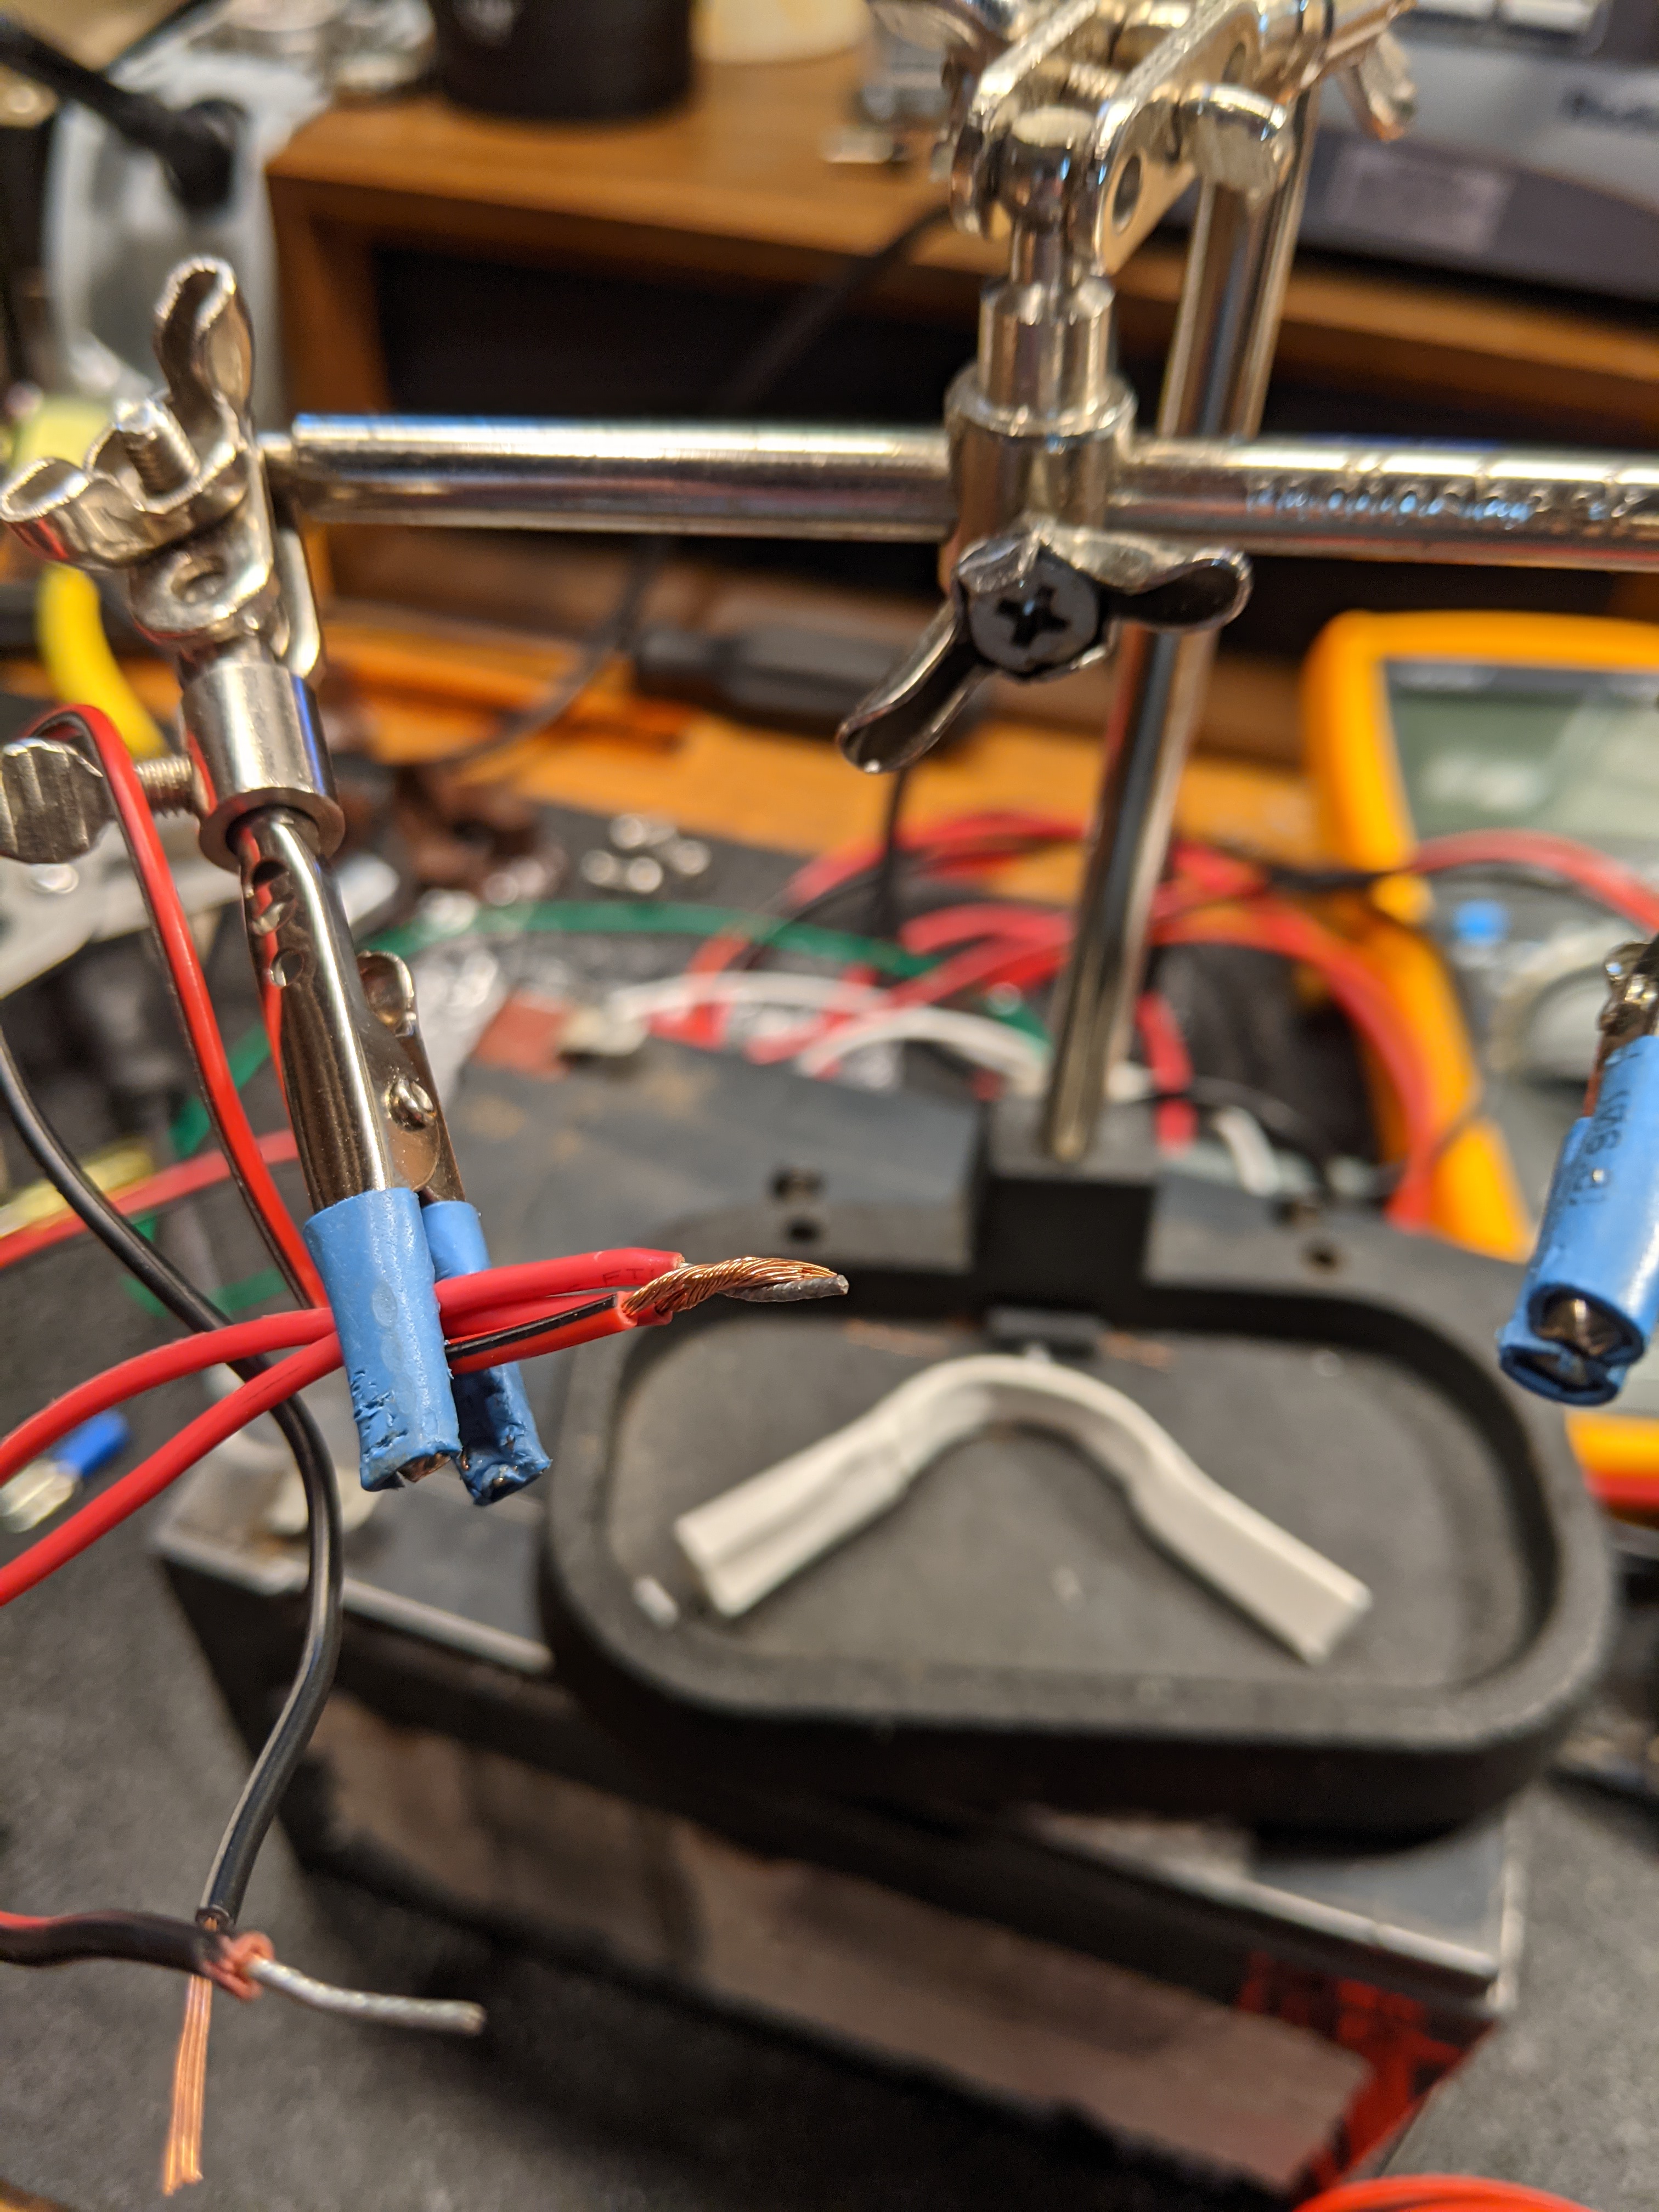

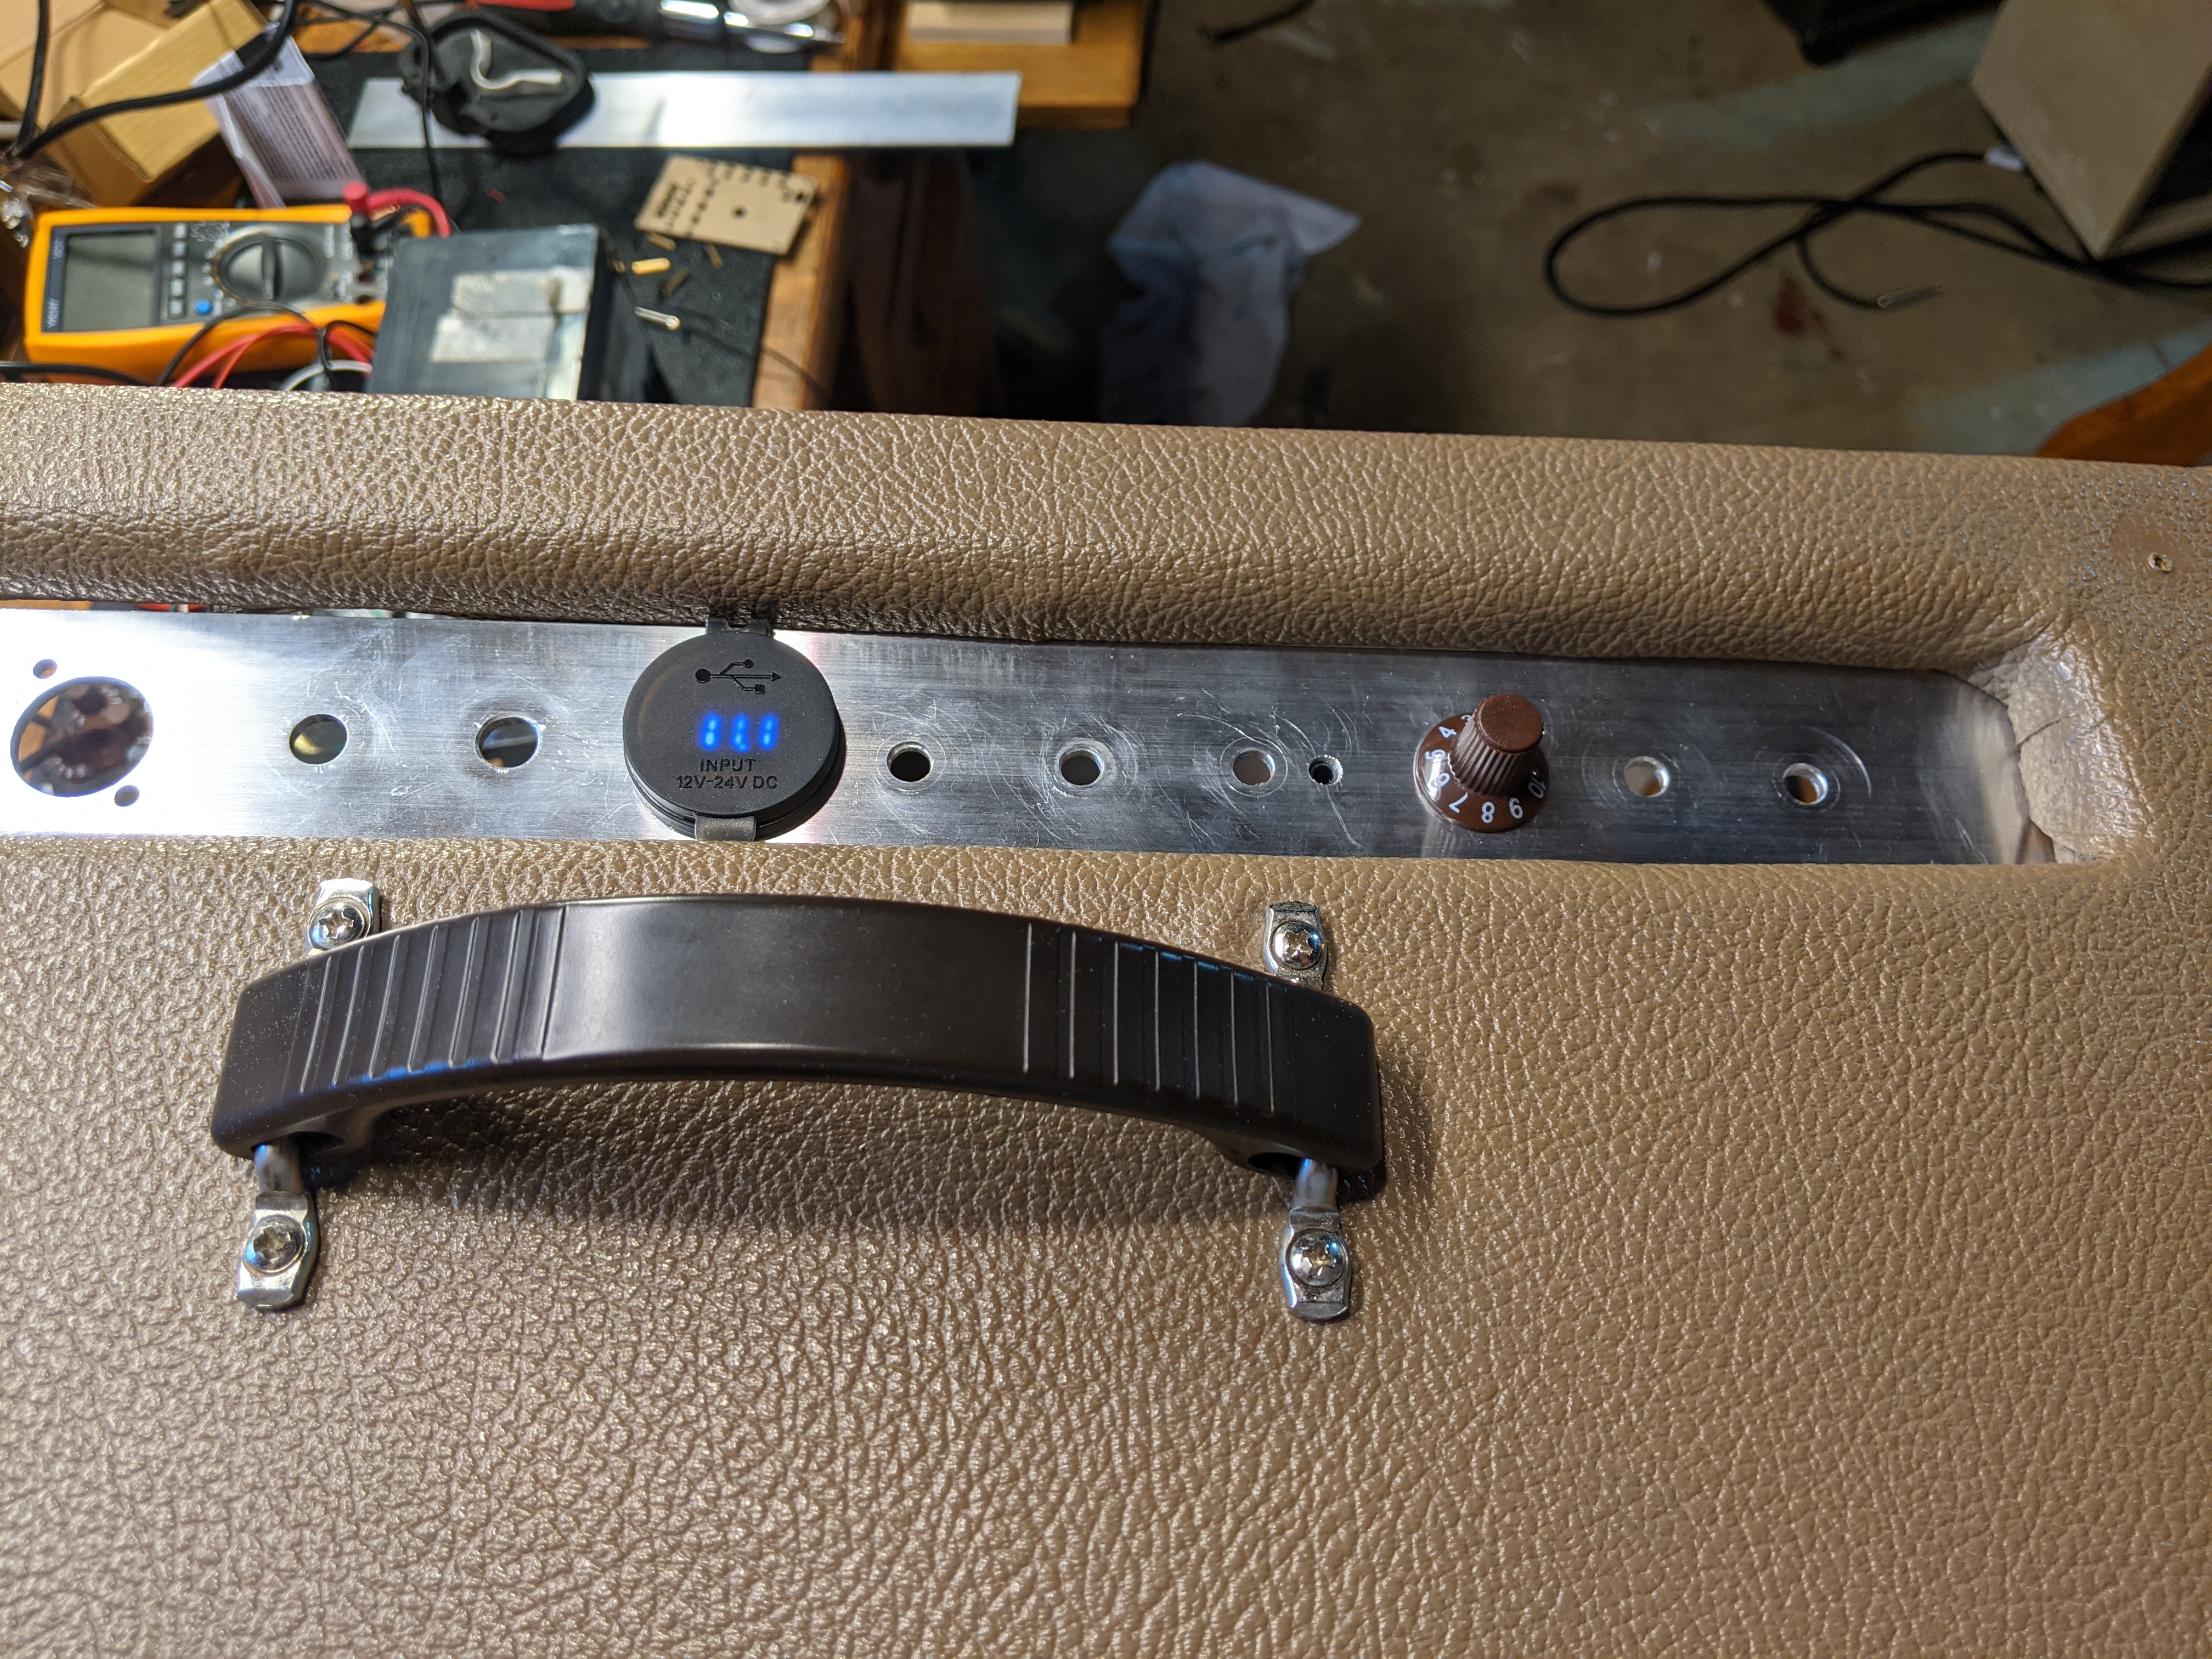
I used some crimp connectors to attach all the wires. I also added an extra 12 volt USB charger plug that I had from when I installed some outlets in my car. it has a voltage meter inside so I can see the battery voltage and know when the battery needs to be recharged.
I mounted the amplifier board master volume knob and 1/8 inch audio input jack to the aluminum face plate for the old speaker cabinet, hence all of the extra holes. If I was just installing everything inside a home theater speaker enclosure I would probably just drill some holes in the front or back of the speaker.

I can feel even now peoples comments about wanting a parts list, or what specific amplifier board I used, but if you are asking then you already missed the point. I think the term D.I.Y. has basically become no more than buying a kit and putting the pieces together. I don’t think I would call IKEA furniture, or Lego sets D.I.Y.
Most every one’s D.I.Y. project quest begins with a trip to the internet to find the best way to do something. Perhaps that is how you even ended up here. Sometimes you don’t need the best way to do something. Good enough is good enough. Especially if it means not always having to buy something new that would be perfect when what you already have will work.
So this concludes my story about pulling together some stuff from my basement to build a speaker that my family and I can enjoy outside in our backyard. Now get out there and make something yourself.

Leave a comment