
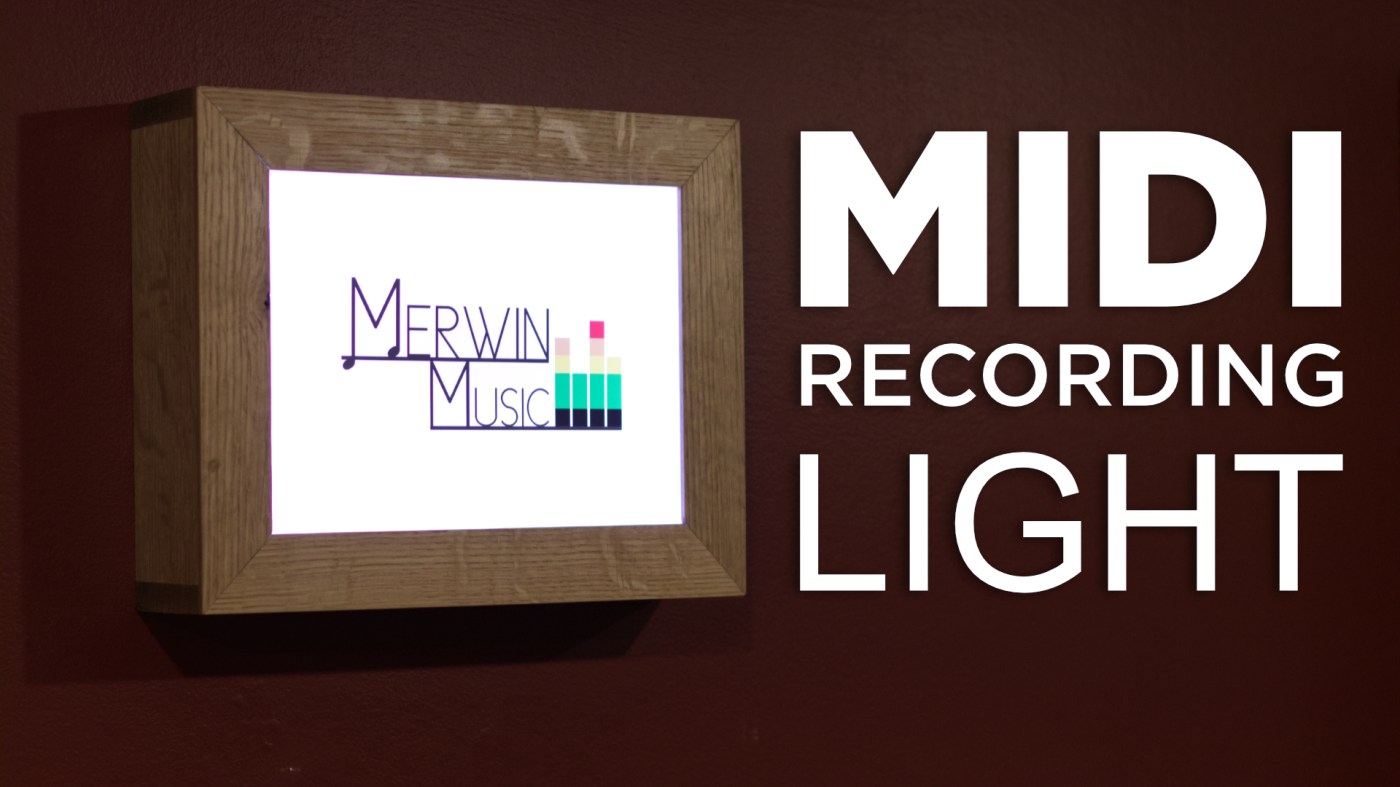
So I built this LED backlit sign, that changes colors when it receives MIDI signals from any digital audio workstation. So when you hit play it turns green, when you hit stop it turns yellow, and when you hit record it turns red.


So basically I started off by building a box out of wood. And I made the inside 8 and a half by 11. This way I could print off my logo on some special paper that is meant to be back lit and stick that between some plastic to have a nice looking back lit sign.
Next I cut a piece of plywood to fit inside the sign, and I glued some strips of wood to one side, to give me a recess where I could stick down some LED’s. Before attaching the LED’s I painted the inside white to help reflect the light around.
I used an Arduino feather which has a WiFi module built into it. As well as a battery and built in charger. I attached most of the electronics down to the back of the sign with some hot glue. And I added a piece of wood so I could mount a power switch and the charger port to it.
So with the code that I wrote on the Arduino. I can power the sign on, connect to it from the Apple MIDI Studio and then setup the sign as a MIDI device in my DAW and it will automatically change colors when toggle through play, stop and record.
The network MIDI protocol works natively in Apple OSX, but it should work with a third party app designed to enable Apple network MIDI on windows.
This project came about because Joe Gilder from Home Studio Corner said he wanted something like this in one of his videos, not only did I build one for myself, but I built one for him as well.
I couldn’t help but think that an automatic recording light like this would be something that people would want, but not necessarily want to build themselves. So if that is you, and you would be interested in buying something like this, an automatic recording light let me know in the comments down below.
Check out the video below to see the light in action!
Links to the products used in this project:
Arduino: https://amzn.to/2tjaUtk
LED’s: https://amzn.to/31lPCYx
Backlit paper: https://amzn.to/2OpkjXQ
Plexiglass sheets: https://amzn.to/3934yO8

Hi Merwin ! This is really an awesome and inspiring project.
I would like to build something like this for myself, however I am new to Arduino and I am struggling to find all the elements to achieve what you did.
Would you be willing to share some of the instructions or at least resources that you used in this project, please?
This would be really great!
Greetings,
Axel.
LikeLike
Hi,
I was wondering if you have more detail for your midi recording light project available for purchase. Like the code and wire diagram. It looks really cool !
Thanks !
Phil Thomas
LikeLike
Is there a way to get/buy the code for the arduino?
thanks in advance!
LikeLike
I second this! I would really appreciate being able to buy the code for this to adapt it to my setup.
LikeLike
hi merwin I want by this light
LikeLike
IS this still available to buy? i would love one!
LikeLike
Hi ! Very nice project / make.
I am an absolute beginner at Arduino, even if I am familiar with “conventional” electronics.
And as my daughter is a cabinetmaker, I have no doubt she will be able to build a very nice box / frame for me.
So I will ask for a question having already been asked to you I guess, is there a way to get / buy the program code you flashed into your Arduino module ?
thanks in advance from France, best regards. Pascal.
LikeLike
Hey Luke, Wonderful project. Wondering what the cables and batteries and such you have attached here. Not entirely sure how to connect the lights to the arduino!
LikeLike